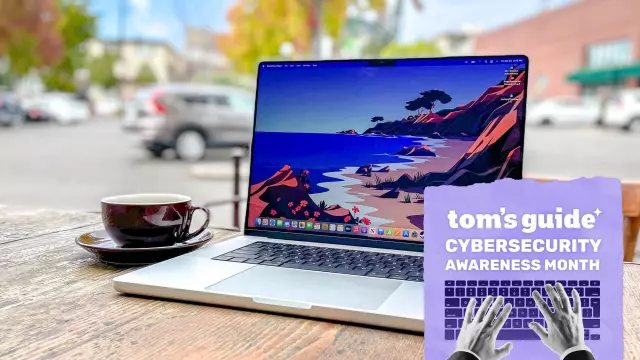
3 Hidden macOS Security Features You Need to Turn on Right Now
- Tags
- Apple
- Privacy
- Cybersecurity
- MacBook
- macOS
In an era where digital privacy is increasingly difficult to maintain, macOS users need to take proactive measures to protect their data. While default settings offer a baseline level of functionality, operating systems often tuck advanced privacy controls deep within submenus to prioritize user convenience. If you want to significantly enhance your Mac's security—especially when traveling or connecting to public Wi-Fi—there are three crucial, hidden security features you should enable right away.
Enable macOS Firewall and Stealth Mode
When connecting to unfamiliar or public Wi-Fi networks, your device is exposed to potential network-based threats. Although a fresh macOS installation lacks open ports that are immediately exploitable, built-in tools like Gatekeeper only verify trusted software rather than acting as a network defense.
To safeguard your network traffic, enable the built-in macOS Firewall:
- Click the Apple logo in the top-left corner.
- Navigate to System Settings > Network > Firewall.
- Turn the Firewall on.
While active, the firewall permits trusted incoming connections from standard applications like Zoom or Spotify while blocking unauthorized access attempts. In the same menu, make sure to activate Stealth Mode, which renders your Mac completely invisible to other devices scanning the local network.
Activate FileVault for Disk Encryption
If there is ever a risk of your MacBook being lost, stolen, or improperly accessed, FileVault is your primary line of defense. FileVault provides full-disk encryption that scrambles all data on your solid-state drive (SSD), rendering it unreadable to anyone without your login credentials.
To turn on FileVault:
- Open System Settings.
- Go to Privacy & Security > FileVault.
- Toggle it on.
When prompted, you can choose to back up your recovery key via your iCloud account or generate a local recovery key. Generating a local key and physically writing it down is strongly recommended if you want to avoid potential vulnerabilities tied to cloud account breaches.
Go Into Lockdown Mode for Maximum Protection
For users who require extreme security measures—such as journalists, activists, or frequent international travelers—macOS includes a specialized feature called Lockdown Mode.
When activated, Lockdown Mode hardens your device's defenses by blocking FaceTime calls from unknown contacts, disabling Just-In-Time (JIT) JavaScript compilation in Safari, and restricting certain file attachments in the Messages app. It also blocks USB accessories from communicating with your Mac while the device is locked.
To enable Lockdown Mode:
- Navigate to System Settings > Privacy & Security.
- Scroll down and select Lockdown Mode, then turn it on.
Note: While Lockdown Mode offers exceptional protection against zero-click and click-based exploits, it comes with a major usability trade-off. Certain web pages may break, link previews will be disabled, and specific web services may slow down. You can mitigate these inconveniences by adding trusted sites to your Safari exceptions list.
Bonus Tip: Adjust Safari Download Settings
Beyond these security toggles, consider changing a default browser behavior that could leave you vulnerable. Open Safari > Settings > General and uncheck "Open safe files after downloading." This prevents downloaded files from automatically executing and bypassing your system's initial safety checkpoints.
Comments (0)
Sign in to join the conversation.Sign in
Loading comments...