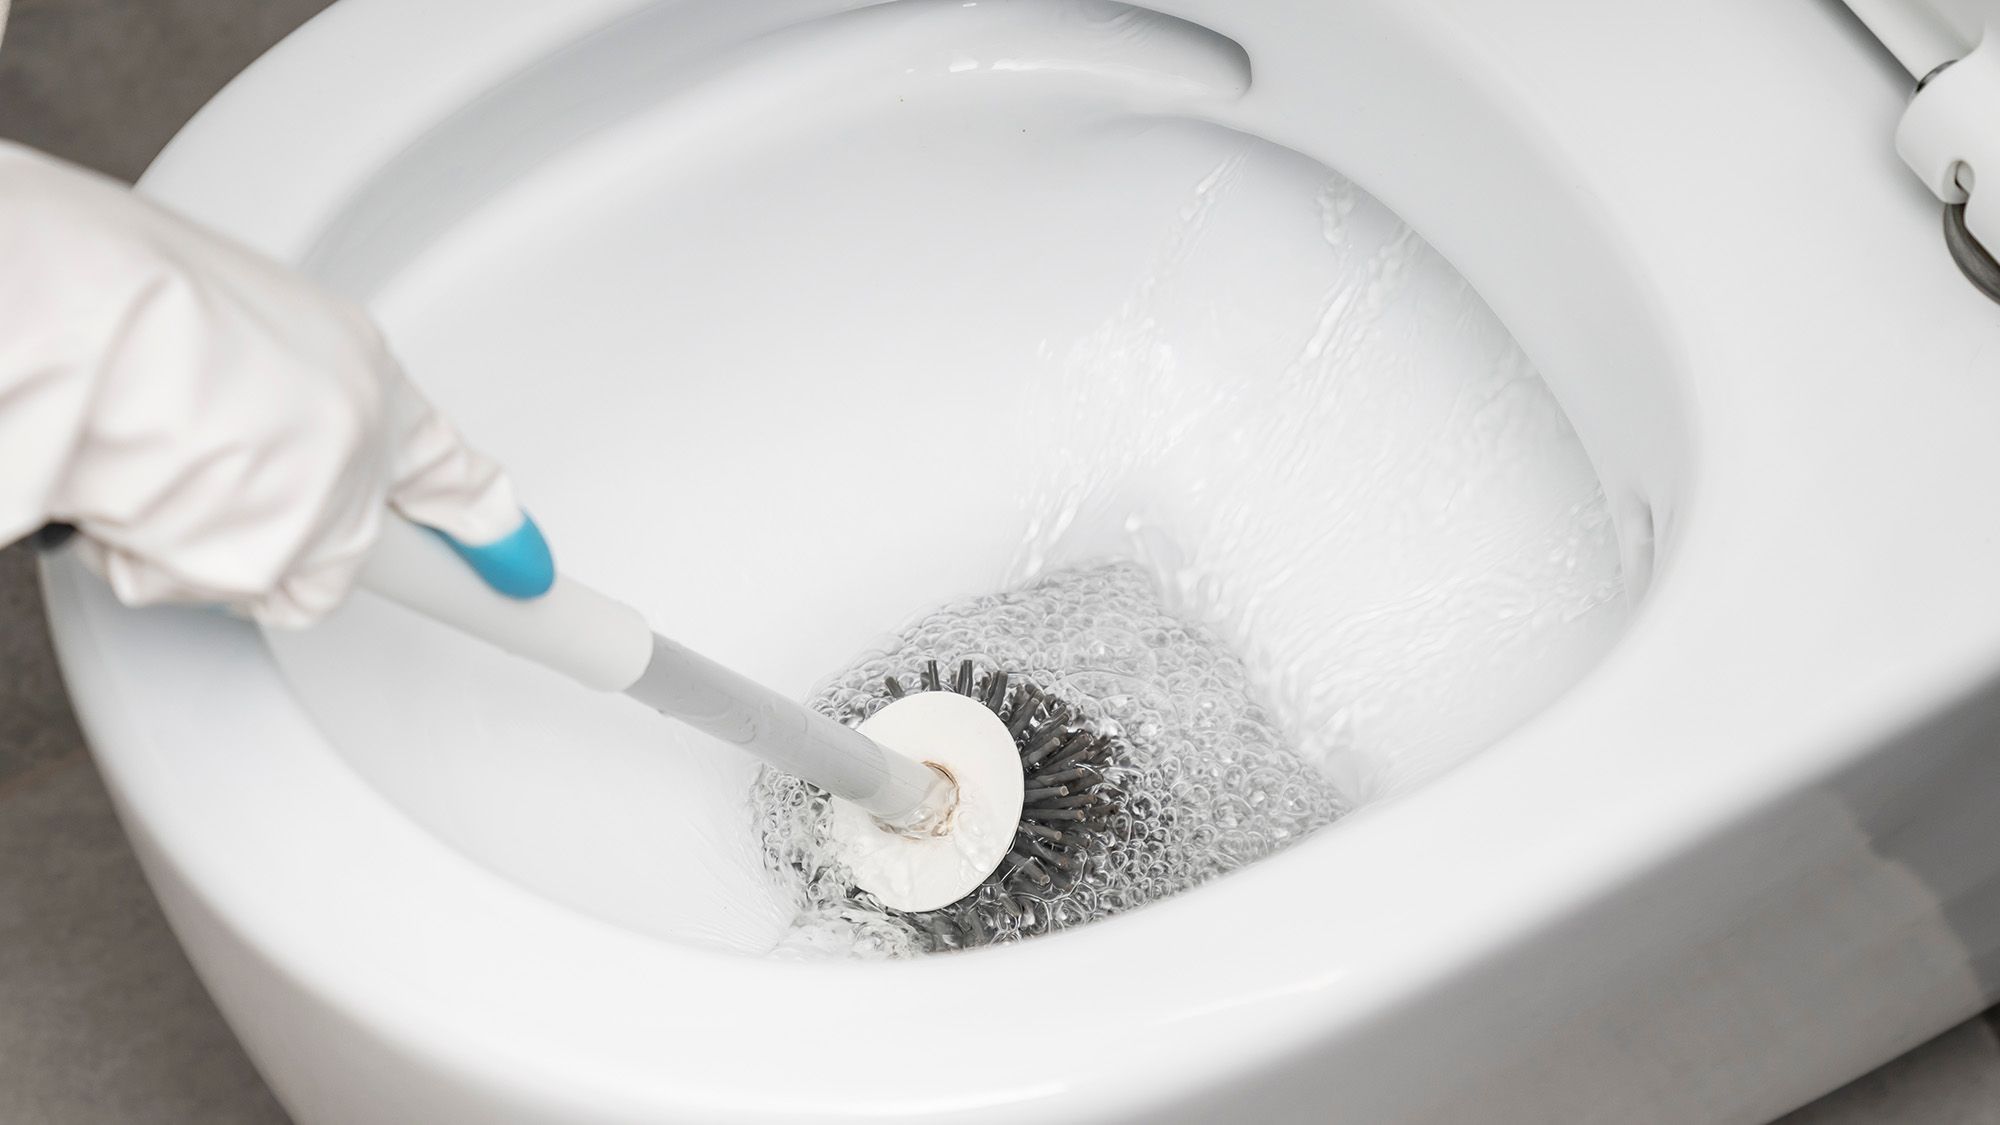
Stop Scrubbing: The Secret Kitchen Staple That Lets Your Toilet Clean Itself
The Dreaded Chore: Why We Hate Cleaning Toilets
For many homeowners, cleaning the bathroom is the absolute lowest point of the weekly chore list. Among all the tasks, scrubbing the toilet bowl is often the least favorite due to the physical effort and the unpleasant nature of the work. However, maintaining a pristine toilet is non-negotiable for hygiene, removing harmful germs, and eliminating unsightly stains and odors.
While the market is flooded with expensive, chemically-heavy commercial cleaners, a powerful solution has been hiding in plain sight in your kitchen pantry: white distilled vinegar. This common household item can transform your cleaning routine from a grueling scrub-fest into a nearly effortless process.
The Science Behind the Shine: Why White Vinegar Works
White vinegar is a powerhouse of natural cleaning because of its high acidity. Most distilled white vinegars contain a concentration of 5% to 6% acetic acid. This acidity is the key to its effectiveness, allowing it to break down alkaline substances that typically cause bathroom grime.
What Vinegar Tackles Best:
- Limescale and Mineral Deposits: The acid dissolves calcium and magnesium deposits (limescale) that build up from hard water.
- Stubborn Grime: It cuts through the film that forms on porcelain surfaces, leaving a streak-free shine.
- Odors: Instead of masking smells with artificial fragrances, vinegar neutralizes odors and deodorizes drains.
Because it is non-toxic and biodegradable, it is a safer alternative for households with children and pets compared to harsh bleach-based products.
The 'Hands-Off' Cleaning Guide: Step-by-Step Instructions
The secret to letting the toilet "clean itself" is time. By allowing the acetic acid to dwell on the surface, you eliminate the need for aggressive scrubbing.
1. The Deep Bowl Soak
Pour approximately two cups of straight white vinegar into the toilet bowl. Ensure the liquid reaches the waterline and the sides of the bowl. Let it sit for 30 minutes. This allows the acid to penetrate and loosen the bond between the grime and the porcelain.
2. The Final Rinse
After the soaking period, use your toilet brush to lightly scrub the bowl and under the rim. Since the vinegar has already done the heavy lifting, the dirt should slide away easily. Flush the toilet to rinse everything clean.
3. The Exterior Polish
For the toilet seat, lid, and the exterior of the tank, create a diluted solution of equal parts water and vinegar in a spray bottle. Spray the surfaces, let the solution sit for 15 minutes, and wipe clean with a damp microfiber cloth.
Pro Tip: The Power Duo (Vinegar & Baking Soda)
If you are dealing with extreme staining or deep-set mineral rings, you can supercharge the process. After pouring in the vinegar, add half a cup of baking soda. The resulting chemical reaction creates a bubbling foam that physically lifts debris and stains away from the surface, making them even easier to remove during the final brush-through.
Crucial Warnings: Where NOT to Use Vinegar
Despite its versatility, vinegar is not suitable for every surface. Its acidity can cause permanent etching or degradation of certain materials. Avoid using vinegar on:
- Natural Stone: Never use vinegar on marble, granite, or limestone countertops and tiles.
- Hardwood Floors: The acid can eat away at the finish of wood flooring over time.
- Rubber Seals: Avoid applying vinegar to the rubber gaskets found in washing machines or high-end plumbing seals, as it can cause them to perish.
Additionally, it is important to note that while vinegar is an excellent cleaner, it is not a registered disinfectant. If you need to kill specific viruses or bacteria for medical reasons, you may still need to utilize hydrogen peroxide or bleach.
Comments (0)
Sign in to join the conversation.Sign in
Loading comments...