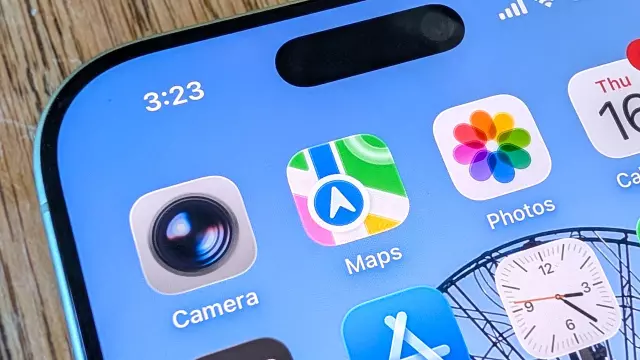
How to Blur Your House on Apple Maps — and Why You Should Do It Right Now
- Tags
- Privacy
- Tech Tips
- How-To
- Apple Maps
- Online Security
Protecting Your Privacy Beyond the Screen
When most people think about protecting their personal data and digital footprint, they immediately focus on updating phone settings, creating complex passwords, and dodging phishing scams. However, keeping unwanted eyes away from your actual doorstep requires a completely different approach to digital hygiene. Apple Maps makes it surprisingly easy for anyone to scout out your neighborhood, examine your property down to the window frames, and observe your daily surroundings.
Leaving high-resolution, unblurred imagery of your home online poses various security concerns. Potential burglars, nosy neighbors, and solicitors can gain a crystal-clear view of your entry points, security camera placements, vehicle details, and personal belongings. Taking proactive steps to obscure your residence helps maintain a healthy boundary between your private life and the public internet.
How to Check Your Home's Visibility on Apple Maps
Provided that Apple's immersive Look Around feature covers your specific geographic area, scrubbing your residence off the map is a relatively straightforward process. Here is how you can check if your location is eligible for blurring:
- Locate Your Address: Open Apple Maps and search for your residential address. Look for the binoculars icon on the location card or the main map view.
- Enter Street-Level View: Tap the binoculars icon to activate the street-level Look Around mode. If you are using a desktop browser or Mac, you can launch full-screen mode by clicking the photo preview located at the bottom-left corner of your display.
- Check for Availability: If you cannot find a binoculars icon, Apple’s street-level imagery has not been mapped in your area yet, meaning your home is not currently visible via street view.
Step-by-Step Guide: How to Blur Your House in the App
If your home is visible and you wish to protect your privacy, follow these simple steps to request an image blur directly through Apple Maps:
- With the street view image of your property visible on your screen, swipe up from the bottom to reveal the menu options.
- Scroll down and select Report an Issue. If you are accessing Apple Maps on a Mac or desktop browser, click the three-dot menu icon in the top corner instead.
- Inside the report window, you will see a preview of the stored imagery alongside multiple category options. Tap on Privacy Concerns.
- Select Obscure imagery of my home. (Note: If you only want to obscure a parked car or specific personal items, you can choose Obscure personal information instead).
- Double-check that the listed street address accurately matches your residence and enter your primary email address. If you are signed into your Apple ID, this field will auto-populate and save a receipt directly to your account history.
- Hit Submit to send your request.
Unlike instant digital toggles, Apple manually reviews and processes all property removal requests to verify authenticity. Over the next few days, keep an eye on your inbox—Apple will send a follow-up email requesting verification or proof of homeownership to finalize the blur. Once the process is successfully completed, you will receive a final confirmation notification stating that your property has been permanently obscured.
Alternative Method: How to Request a Blur via Email
If you encounter technical issues with the in-app reporting tool or if you are submitting your request from a non-Apple device, you can bypass the application entirely. You can request a property blur directly by sending an email to [email protected]. Be sure to include your full name, the exact residential address, and a clear description or screenshot of your property as it appears on Apple Maps.
Comments (0)
Sign in to join the conversation.Sign in
Loading comments...