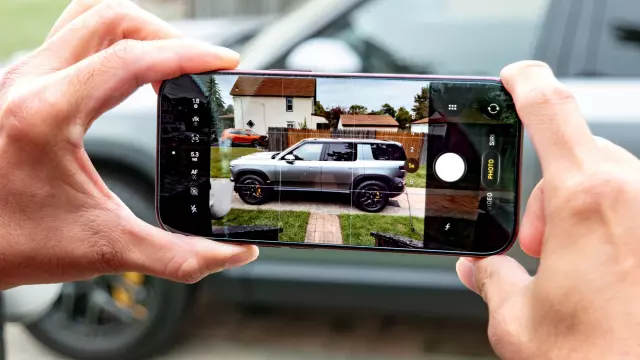
How to Customize Pro Controls Layout on an iPhone 18 Pro and 18 Pro Max
- Tags
- iPhone 18 Pro Max
- Apple
- Mobile Photography
- iPhone 18 Pro
- Tech How-To
Mastering Your iPhone 18 Pro Camera Experience
For mobile photographers and videographers, the iPhone 18 Pro and iPhone 18 Pro Max bring monumental upgrades, particularly with the introduction of new Pro Controls and advanced variable aperture systems. While the hardware capabilities draw immense praise for natural depth of field, the real game-changer lies in the software flexibility: the ability to fully customize the Pro Controls layout to match your precise shooting style.
Apple has historically been conservative with manual controls, but recent generations prove the tech giant is finally listening to enthusiasts. Being able to pin shutter speed front and center or position the focus slider for exact fine-tuning completely transforms the shooting experience.
How to Customize Pro Controls Layout Using the iPhone 18 Pro/Pro Max
Tailoring the Pro Controls interface to keep your most-used tools within immediate reach is a straightforward process. Follow these simple steps to optimize your layout:
1. Open the Camera App and Access Pro Controls
Begin by launching the native Camera app. Next, press and hold any of the control icons located on the side opposite the shutter button. On a fresh iPhone 18 Pro or Pro Max, you will typically find default icons for Live Photos and the LED flash. A simple long-press on either will initiate customization mode.
2. Make Your Selections and Rearrange Icons
Once activated, an "Add Photo Controls overlay" will appear, displaying icons for every available manual setting. You can configure anywhere from two to eight controls simultaneously. Select what you need, then drag and drop the icons into the exact order or layout that suits your workflow. Click Done when finished to save your customized configuration.
Seamless Transition to Video Recording
Your tailored selections lock into place across sessions, sparing you from endlessly tapping the six-dot icon to dig through nested settings. This level of customization allows you to adjust key parameters on the fly, keeping your focus firmly on framing and capturing the shot rather than fumbling through menus.
Best of all, this layout customization carries over seamlessly to video recording. Alongside core manual adjustments like aperture, shutter speed, manual focus, and white balance, Apple includes video-specific tools such as Dual Capture, Action mode, and Adaptive time-lapse recording, which dynamically alters frame rates when motion is detected.
Comments (0)
Sign in to join the conversation.Sign in
Loading comments...