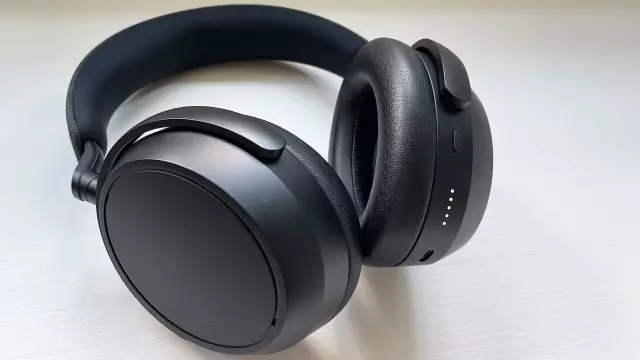
My $300 Noise-Canceling Headphones Started Making a Strange Pop on Every Step — The Fix Was Surprisingly Simple
- Tags
- audio
- Active Noise Cancellation
- Gadgets
- headphones
- Tech Tips
- DIY Repair
The Annoying Crackle That Sounds Like Hardware Failure
You are out for a walk, enjoying your favorite podcast or playlist, when suddenly a sharp thumping, crackling, or high-pitched fluttering sound hits your ear canal. It usually happens the moment you step off a curb, hit a bump on the bus, or catch a sudden gust of wind. Before you panic and schedule an expensive repair or start shopping for a replacement pair, take a breath. That strange, irritating noise doesn't mean your premium headphones or earbuds are broken. In fact, it might be a sign your Active Noise Cancellation (ANC) is getting tripped up by a hidden buildup of everyday grime.
How Active Noise Cancellation Triggers the Acoustic Glitch
To understand why it happens, you have to look at how Active Noise Cancellation works under the hood. ANC headphones use tiny outward-facing microphones to listen to the sounds around you. The headphones instantly create an opposite sound wave to block out those background noises before they reach your ear. When you step down hard on the pavement, ride over a pothole, or walk through a gust of wind, the physical shockwave sends a sudden rush of air toward those tiny built-in mics. Normally, the software handles these air shifts seamlessly. But over time, microscopic particles of dust, pocket lint, and skin oils build up directly over the mesh grilles protecting those external microphones. When air rushes across a partially blocked grille, it creates uneven air friction. Instead of reading normal background noise, the mics pick up localized air turbulence. The software panics, scrambling to cancel out a noise that is physically vibrating the microphone housing itself, producing that annoying thump, pop, or flutter directly in your ear.
The Simple DIY Fix to Restore Crystal-Clear Sound
If you are experiencing this frustrating issue, you don't need to visit a repair shop. The fix is entirely physical and takes only a few minutes. To clear out the buildup yourself, start by locating every tiny mesh grille or pinhole port on the outside of your ear cups or earbud stems. Take a dry, soft-bristled toothbrush or an electronics cleaning brush and sweep gently across the grilles at an angle, making sure not to push straight down so you don't pack lint deeper inside. Next, apply a tiny amount of micellar water or 70% isopropyl rubbing alcohol to the tip of a cotton swab. Ensure the swab or wipe is barely damp and never dripping, then gently roll it over the mesh openings to lift any stubborn residue. Allow your headphones to air dry for about 5 minutes before putting them back on, and the noise cancellation will return to crystal-clear performance.
Comments (0)
Sign in to join the conversation.Sign in
Loading comments...