The Secret to Stopping Weeds Next Spring: Apply This Simple Barrier to Your Lawn Right Now
- Tags
- lawn care
- Home Improvement
- gardening tips
- Weed Control
- Fall Yard Maintenance
Why Fall Is the Critical Time for Weed Prevention
If you wait until spring to start fighting weeds in your yard, you are already months too late. While your lawn’s top growth noticeably slows down as cooler weather approaches, stubborn winter weeds such as chickweed, henbit, and annual bluegrass are actively germinating under the surface as soil temperatures begin to drop. By the time green shoots pop up in April, those weeds have spent the entire winter establishing massive root systems across your yard. The secret to a completely weed-free lawn next year isn't pulling mature weeds in the heat of summer; rather, it is stopping them from ever breaking through in the first place.
How Pre-Emergents Work as a Subterranean Shield
Pre-emergents don’t kill existing weeds or feed your grass; instead, they act as an invisible subterranean shield. While synthetic products are widely available and commonly used, natural alternatives like corn gluten meal operate on the exact same principle by preventing young roots from taking hold. The primary catch is that pre-emergents block all seed germination indiscriminately. If you are currently overseeding or patching bare spots in your yard, skip the pre-emergent entirely until your new grass is fully established—typically after it has sprouted and you’ve mowed it at least twice. Otherwise, the chemical barrier will kill your expensive grass seed before it ever takes root.
Step-by-Step Guide: How to Apply a Pre-Emergent Barrier
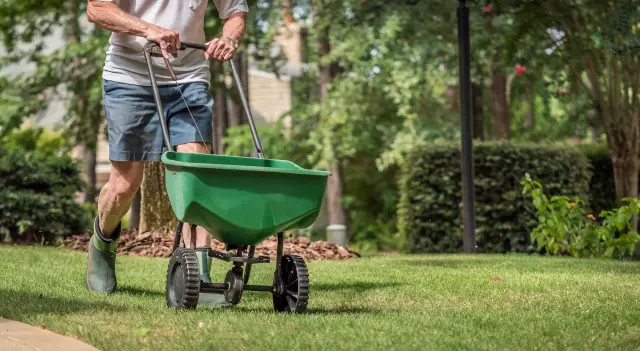
To apply pre-emergent granules evenly across your property, you will need a reliable lawn spreader. Push the spreader across the lawn so that it drops the product out of the bottom as you walk. Always check the back of your product bag to find the recommended setting for your specific spreader model, and turn the number dial to match that setting. To avoid accidental spills on your grass, always fill the spreader's main bucket while parked safely on your driveway.
Begin by walking the outer perimeter of your yard first. This creates a neat turnaround boundary so you don't accidentally dump extra product at the property lines. Push the spreader back and forth in straight, overlapping lines. For the best possible coverage, use a cross-hatch pattern by passing over the lawn north-to-south, then east-to-west. Only open the bottom slot of the spreader while you are actively walking, and close it right before you stop or turn to prevent a heavy pile from dumping out and burning your grass. Finally, sweep any stray granules off your driveway and back onto the lawn, then water the yard lightly for 10 to 15 minutes to activate the barrier and lock it into the top layer of soil.
Comments (0)
Sign in to join the conversation.Sign in
Loading comments...