Mastering iPhone Astrophotography: How to Capture Stunning Night Sky Photos
- Tags
- Apple
- iPhone
- Astrophotography
- Camera Tips
- night photography
- photography hacks
You don't need a heavy, expensive DSLR or complex lens setup to capture the majesty of the cosmos. With advancements in mobile camera technology and computational photography, the iPhone sitting in your pocket is perfectly capable of producing breathtaking images of the stars, constellations, and even the faint, ethereal glow of the Milky Way. However, relying purely on automatic settings often results in blurry, underexposed, or noisy images. By applying a few subtle but essential adjustments, you can transform your night sky photography from amateur snapshots into professional-looking captures.
Why Technique Matters
In low-light environments, your camera sensor needs to stay open significantly longer to 'see' the light from distant stars. When shooting by hand, any microscopic movement—even the involuntary tremor of your fingers—will result in motion blur, leaving you with nothing but a dark, grainy mess. A recent test revealed that by simply stabilizing the device and using a timer to avoid physical contact, the camera sensor is capable of gathering far more depth, revealing dense star clusters and distinct light points that were previously invisible.
1. Stabilize with a Tripod
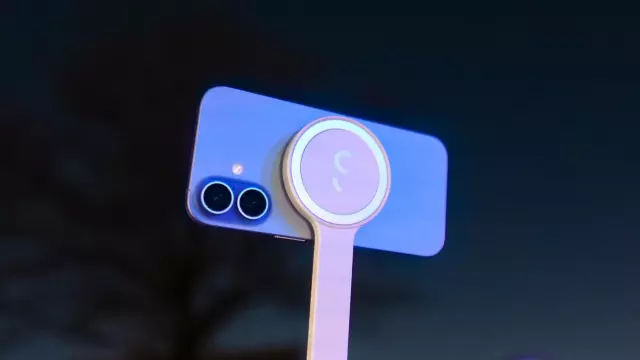
While your iPhone's built-in Night Mode is impressive, it generally caps exposure time at around 10 seconds when handheld to prevent blur. To truly unlock the potential of your device, you must secure it to a tripod. Once the iPhone detects it is perfectly still, it unlocks a hidden 'Max' exposure setting, allowing for full 30-second light gathering. This extra time is crucial for the sensor to pull details out of deep, dark shadows.
2. Optimize Lens and Format Settings
Stick strictly to the primary 1x wide lens. The ultra-wide (0.5x) and telephoto lenses feature smaller sensors and narrower apertures, which are less effective at gathering light and will inevitably produce more grain in dark conditions. Additionally, ensure you are shooting in RAW format. RAW files store uncompressed image data, providing you with significantly more flexibility and cleaner results during the post-processing phase.
3. Eliminate Shutter Shake
Even on a sturdy tripod, the physical act of tapping the screen to take a photo can create micro-vibrations that ruin a long exposure. The most effective fix is to set the built-in self-timer to a 3-second delay. This ensures the phone has completely settled before the exposure begins. For those looking for a hands-free experience, you can use the Apple Watch Camera Remote app, trigger the shutter via Voice Control, or use the volume button on a pair of wired headphones.
Beyond the iPhone
If you are an Android user, the core principles remain the same. Google Pixel devices offer an automated Astrophotography mode within Night Sight when a tripod is detected, while Samsung users can utilize the 'Astrophoto' feature within the Expert RAW app to stack long-exposure images with a helpful, on-screen constellation guide.
Comments (0)
Sign in to join the conversation.Sign in
Loading comments...